Want To Replace Your Toilet Cistern? 3 Easy Steps To Do It!
Replacing a toilet cistern shouldn’t be a tough or time taking task if you can pursue some basic instructions. The cistern is no doubt the most vital part of a toilet, and if it stops functioning or get damaged for any reason, you may have to think about the replacement of it. The cistern is the part that suck water into the toilet as soon as the flush handle is employed. If your cistern is damaged or cracked by any means, it’ll begin to drain, and the best and most practical way to manage such a problem is by replacing it totally.
Now, you are wondering how to replace the cistern? Let me guide you in three easy steps.
Step 1: Make Basic Preparations:
Prior to you start, get a brand new cistern to apply in your toilet. Dimension of each cistern is very standard, and your main focus should be more on aesthetics, for example, whether you wish a ceramic or plastic one. Plumbing tape can be brought from your nearest hardware shop, and an adjustable wrench you may have in your regular tool box.
To start the process, first deactivate the water supply to your toilet. You can discover a valve, possibly below the toilet by the wall. Rotate the valve clockwise to separate the water-supply. Then flush out the toilet to eliminate any residual water, and you must discover that the cistern doesn’t start re-stuffing.
Step 2 – Take Away the Old Cistern:
You can find a water conduit pipe at the foot of the cistern. This maybe be fastened with screws to the cistern. Detach this to move it out of the way. The cistern then can be taken away from the bowel of the toilet.
You will discover that the cistern is connected with the bowl by innumerable nuts & bolts. The fittings avail in diverse sizes, thus you must have an adjustable spanner close to you to exclude them. In several cases, there maybe metal or plastic toggle nuts that can be removed more effortlessly. Ensure to eliminate any washers and also place the fittings nearby somewhere securely where you can’t lose them. You have to reach inside the cistern and take away any washers and bolts once you excluded the nuts.
To exclude the old cistern physically, just lift it out of place once you’ve separated the connections.
Step 3: Fit the New Cistern:
Setup the new cistern with the same approach that you have used to remove the old one. Ensure that it lines up appropriately and the gasket discovered on the foot lines up with the opening at the reverse side of the bowl. Make use of plumber’s tape to wrap the conduit of the new cistern, and then refasten the water conduit pipe to the new cistern. And now its time to turn on the water supply. The cistern must begin to fill with water again. Ensure to examine the new installation for leakages prior to continuing.
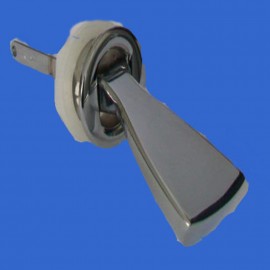
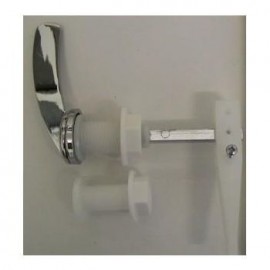
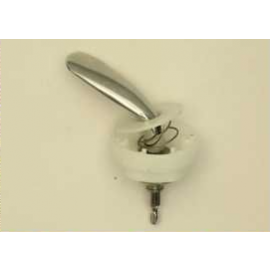
If you are in the market for some hard to find cistern spare parts, you better contact My Toilet Spares for a jaw-dropping deal. We stock cistern spare parts belongs to a variety of reputed brands including Roca, KOHLIER, and many others. For any type of help or further inquiry, please feel free to e-mail us at customerservice@mytoiletspares.co.uk.